Installation
Installing the NEMU Board will require you to solder a bunch of pins and connections. If you don't have soldering experience, practice before continuing! If all else fails JKTUNING offers free installation if you send in your ECU. This is an installation guide if you decide to install the board yourself.
Please note I have the beta version of the NEMU board, your version will look slightly different.
Tools Needed- Soldering Iron
- Desoldering Iron
- Solder
- Steady Hands and Patience
Installation Instructions
- First remove the top and bottom covers from the ECU. These bolts will probably be stuck, they also strip very easily. Use the correct Phillips bit and a drill since your hands are not torque enough and might strip the bolts.
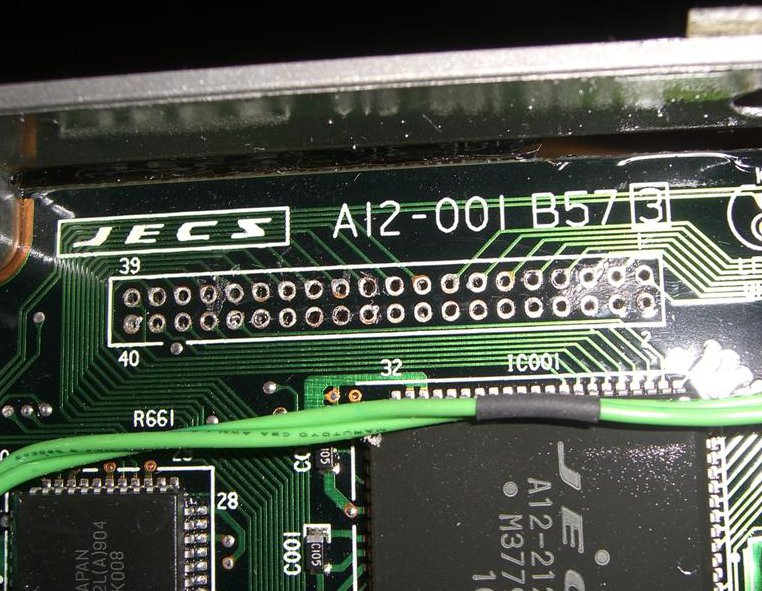
- You will need to get a desoldering iron or some desoldering braid from Radio Shack, it's worth the $20 and will save you a lot of time and prevent damage to the ECU. Desolder the 40 pins
- Push in the 40 pin connector
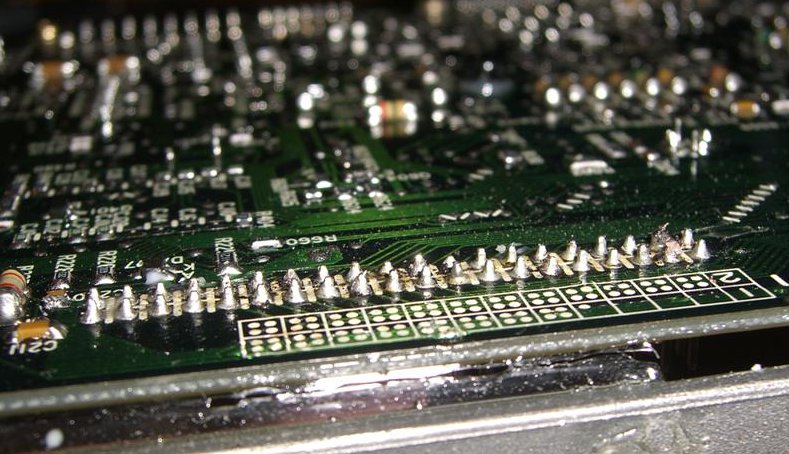
- Solder in the 40 pin connector
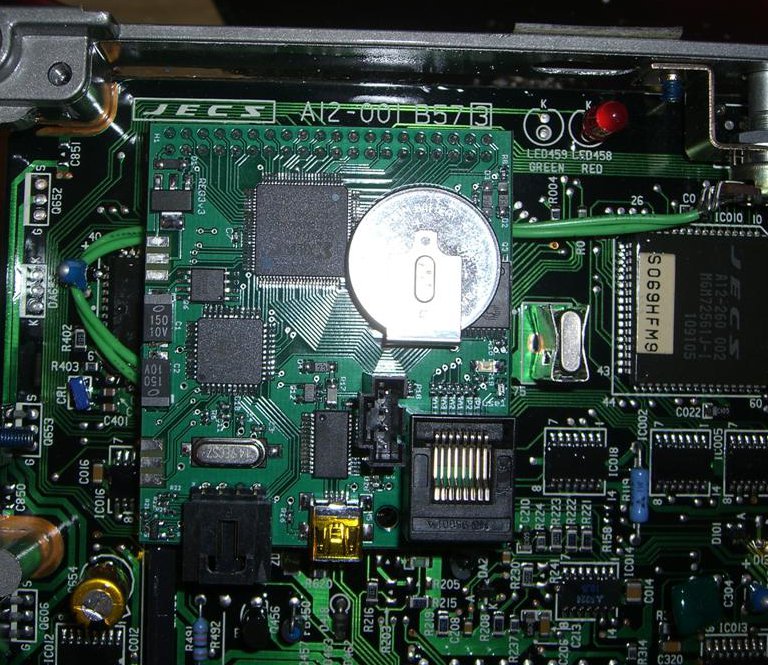
- You should be able to slip on the NEMU board onto the newly solderd 40 pin connector
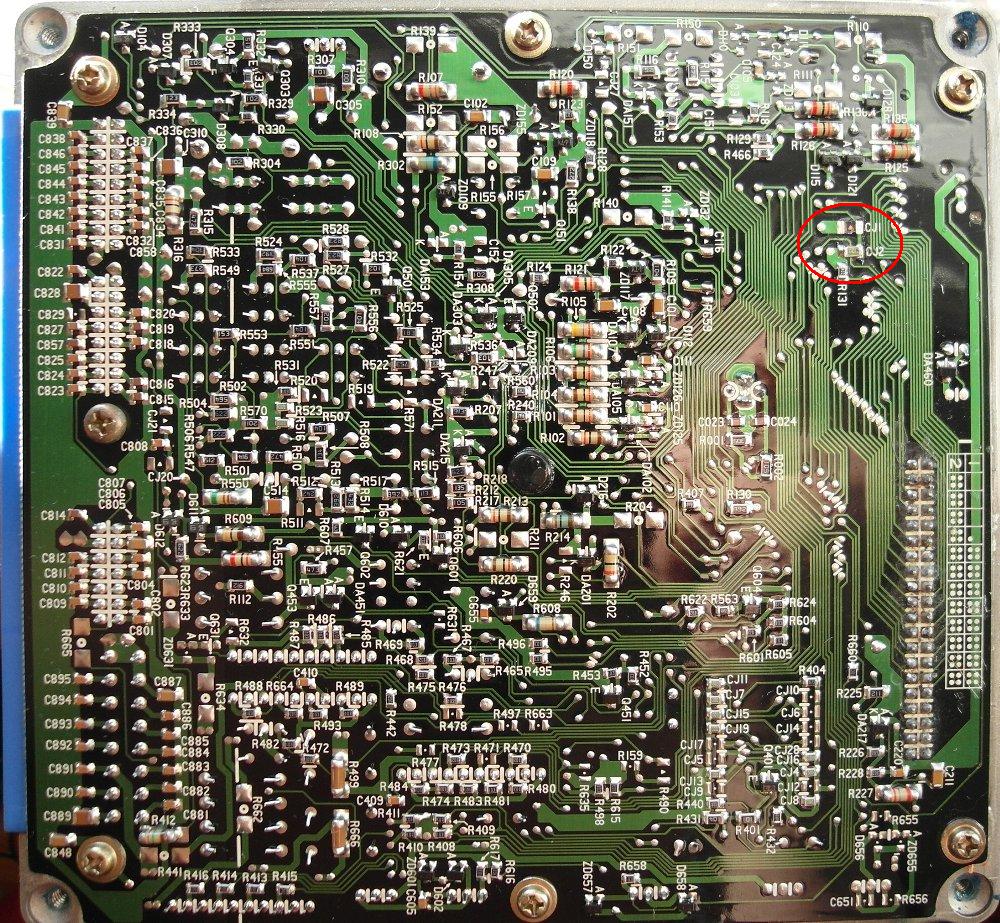
- Next step is to tell the ECU to use the new daughter board instead of onboard memory. On the back of the ECU there is a jumper that you will have to unsolder move and resolder. Jumper is on CJ1, you will have to move that to CJ2.
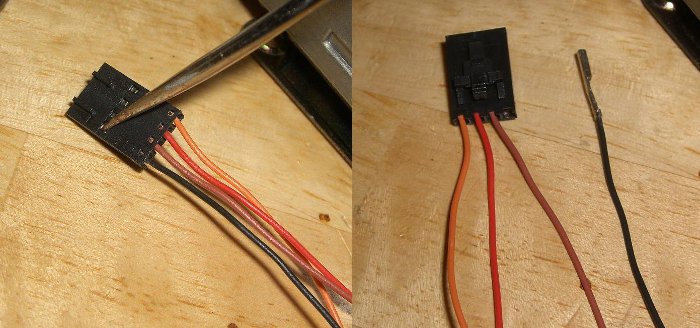
- If your plug came with 4 wires, pull the right most wire out.
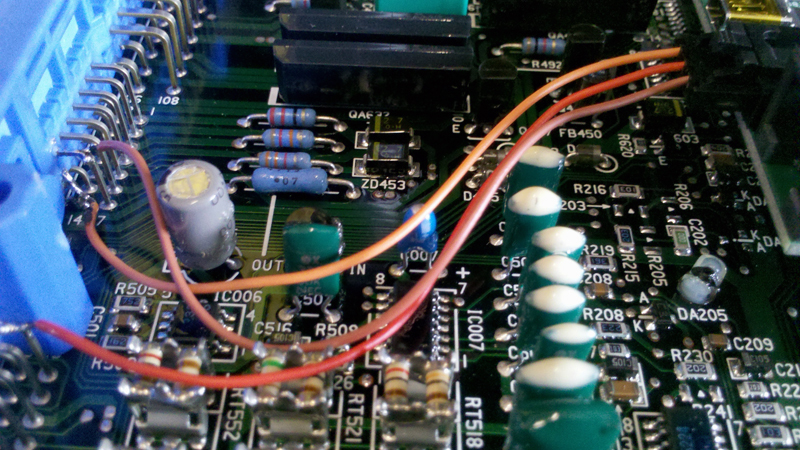
- Final soldering step is to solder three Consult wires (Consult Clock, Consult RX, Consult TX) onto the ECU pins. Please don't pay attention to the wirecolors, they mean nothing, the location on NEMU means everything though.
- LEFT: PIN 14
- CENTER: PIN 15
- RIGHT: PIN 7
- Now plug in the USB cable and zip tie it inside the ECU to a sturdy place. The diagnostic wheel should do. This will prevent you from breaking the USB port or the NEMU if you accidentally yank on the USB cable.